Making a... er... beercan sunflower? Yeah, I'll call it that. 2

Making a… er… beercan sunflower? Yeah, I’ll call it that.

Lately I’ve been doing various artsy sorts of stuff (mainly woodworking) when someone I know online said (paraphrased) “I know this is sort of odd, but, would you make me something?”

Now, this wasn’t a “something specific”, this was a “something”.  I asked, and they didn’t have anything in particular they wanted – just “something”.  Hmmm, so sky’s the limit.  Of course, budget is not (my budget was $0, since I had no money for supplies.)  I had wood laying around, among other consumables I could have used, but nothing really struck my fancy.  I know she liked sunflowers, but drawing or painting a sunflower didn’t sound “fun” enough for me.  I wanted something different, and well… something that actually had that sort of “cheesy home-made” feel to it.

I racked my brain trying to come up with something, and for a while I was at a loss.  I have no idea what triggered the thought of turning a beercan into a sunflower, but, it happened.

Now, I probably could have googled this – but I didn’t.  In fact, I sort of avoided it – I wanted to create something from scratch without using someone else’s influence.  Sometimes, that’s just more fun 🙂

I took pictures along the way, and sent them to her to give her hints on what I was up to (apparently, it didn’t take long to figure out what I was up to, but she didn’t just blurt out “It’s a sunflower!” and take away all my fun 😉  I also figured, what the heck, one of these days I’d sit down and document it, just for the heck of it.  So, here’s how to take a can of really cheap, light beer (Rolling Rock, in my case) and turn it into a cheesy, home-made feel sort of sunflower 🙂

First, start with beer.  Yes, you could start with a soda can, but then it would be a soda can sunflower, not a beer can sunflower, which is completely outside of the scope of this project.

Don’t open it.  You might be tempted to go ahead and drink it now – don’t.  Drink a different beer if you have to have a beer right now.  But, what you want is for the beer can to still be full, so it’s nice and firm (to prevent denting it.)  Take some sandpaper (the higher the grit, the longer it will take, but the nicer the results) and take all the paint off of the can.  Or don’t – no one says you HAVE to, but that’s what I did.
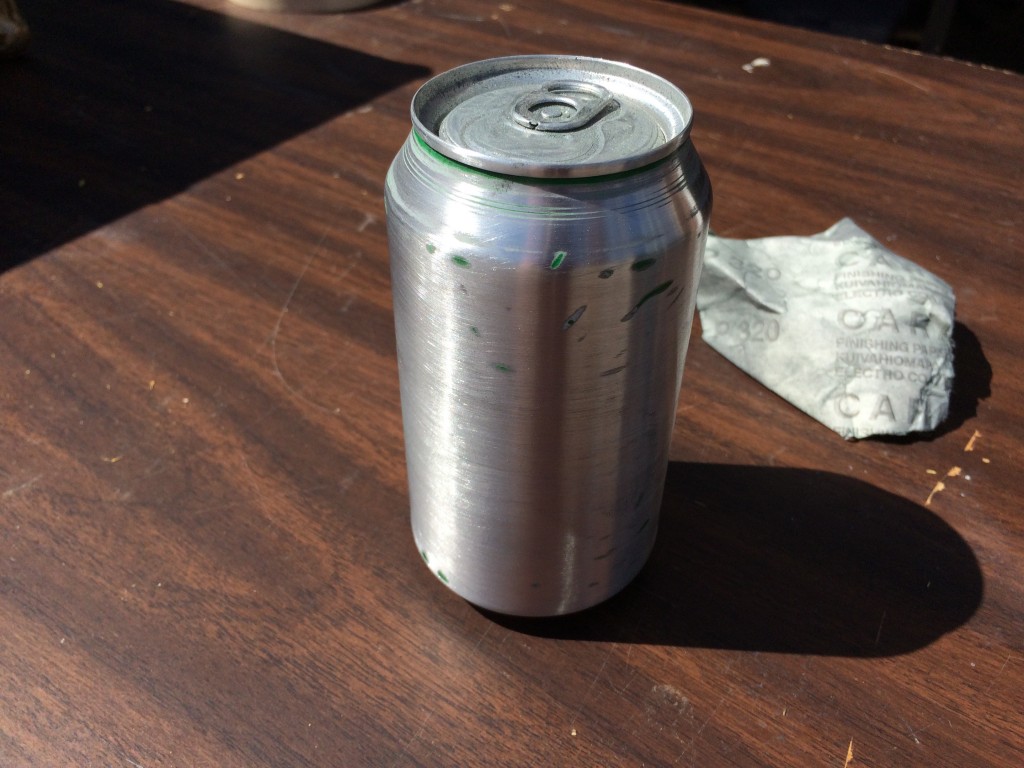
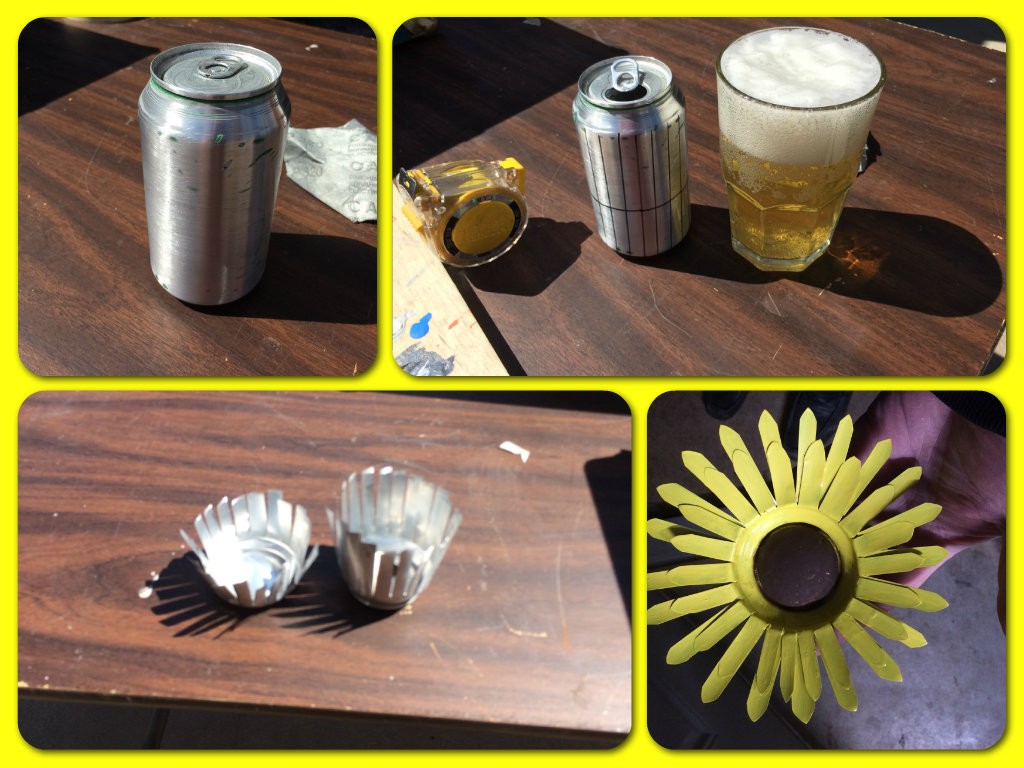
Phase 1:  Sanded Can
Phase 1: Sanded Can
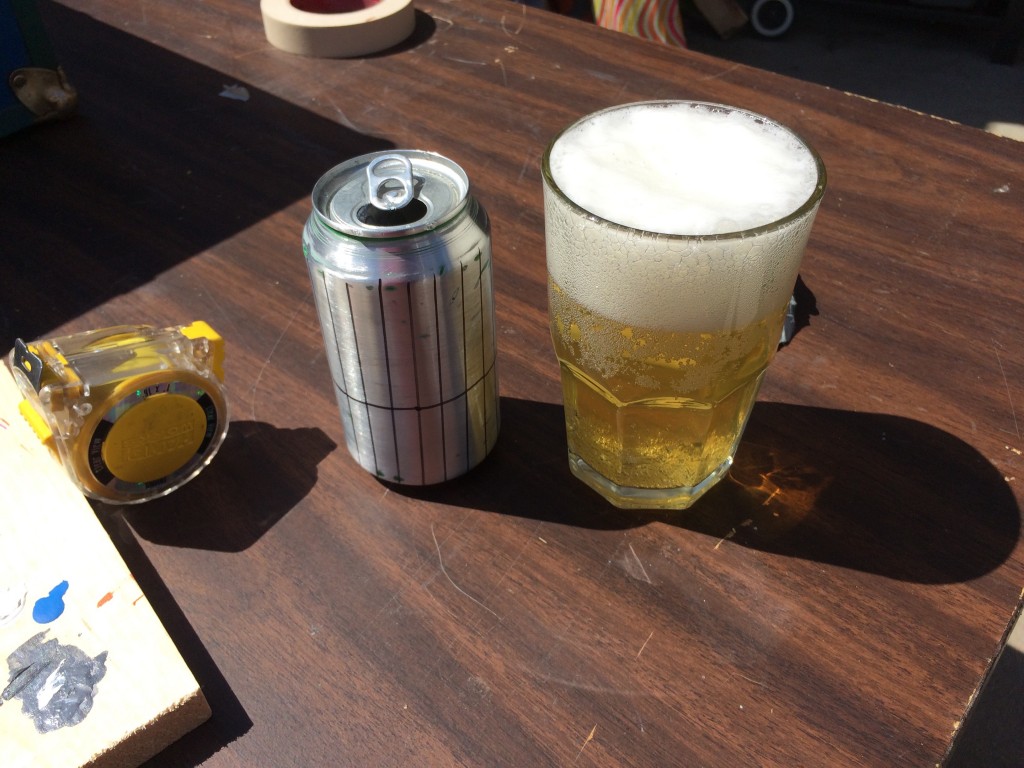
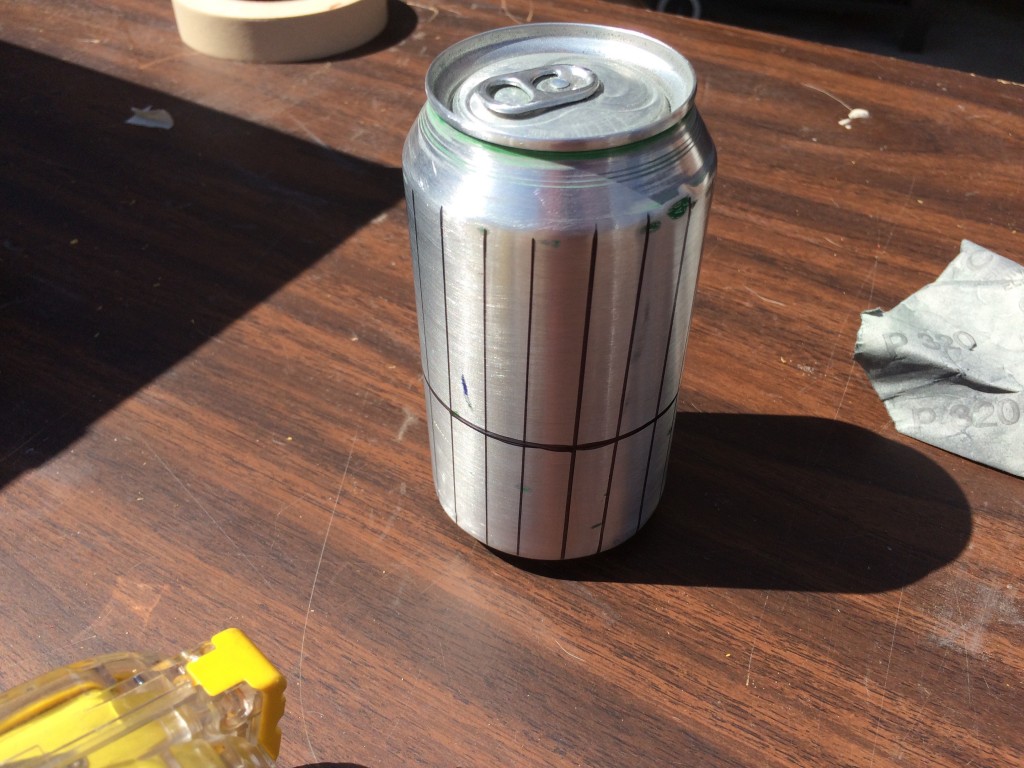
Phase 2:  You still can't drink the beer yet.  Instead, while it's still more solid, make some marks on it.  The first one around the equator is where we're gonna split the can at - but, don't make it half way,   Instead, place it somewhere between 1/3rd and 1/2 of the way  from the bottom of the can.  Then, make upright stripes as a cutting guide later (doing this now, with the can solid, is much easier.  Empty beer cans dent easily.)
Phase 2: You still can’t drink the beer yet. Instead, while it’s still more solid, make some marks on it. The first one around the equator is where we’re gonna split the can at – but, don’t make it half way, Instead, place it somewhere between 1/3rd and 1/2 of the way from the bottom of the can. Then, make upright stripes as a cutting guide later (doing this now, with the can solid, is much easier. Empty beer cans dent easily.)
Phase 3:  You may now drink your beer, then go wash the can out really well.
Phase 3: You may now drink your beer, then go wash the can out really well.
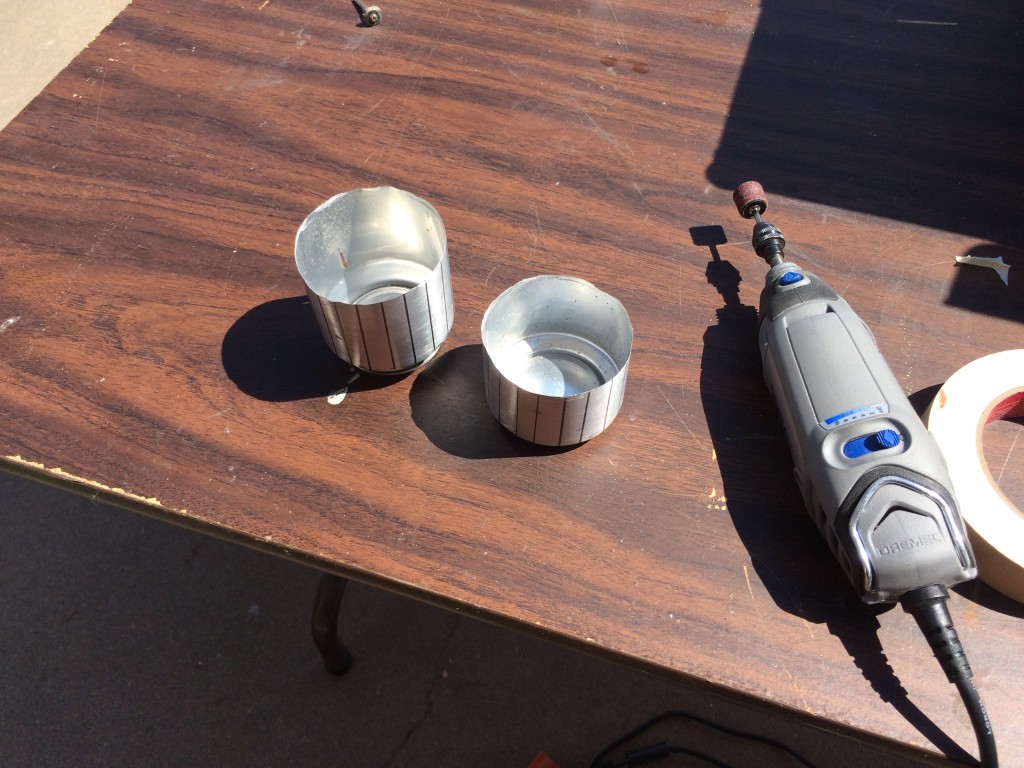
Phase 4: Cut the can along the mark in the equator, using method of choice.  I used a cutting wheel on a dremel - after having done it, I don't consider that my method of choice if I ever do it again.  I had to clean it up considerably with a sanding wheel along the cut line afterwards.
Cut the can along the mark in the equator, using method of choice. I used a cutting wheel on a dremel – after having done it, I don’t consider that my method of choice if I ever do it again. I had to clean it up considerably with a sanding wheel along the cut line afterwards.
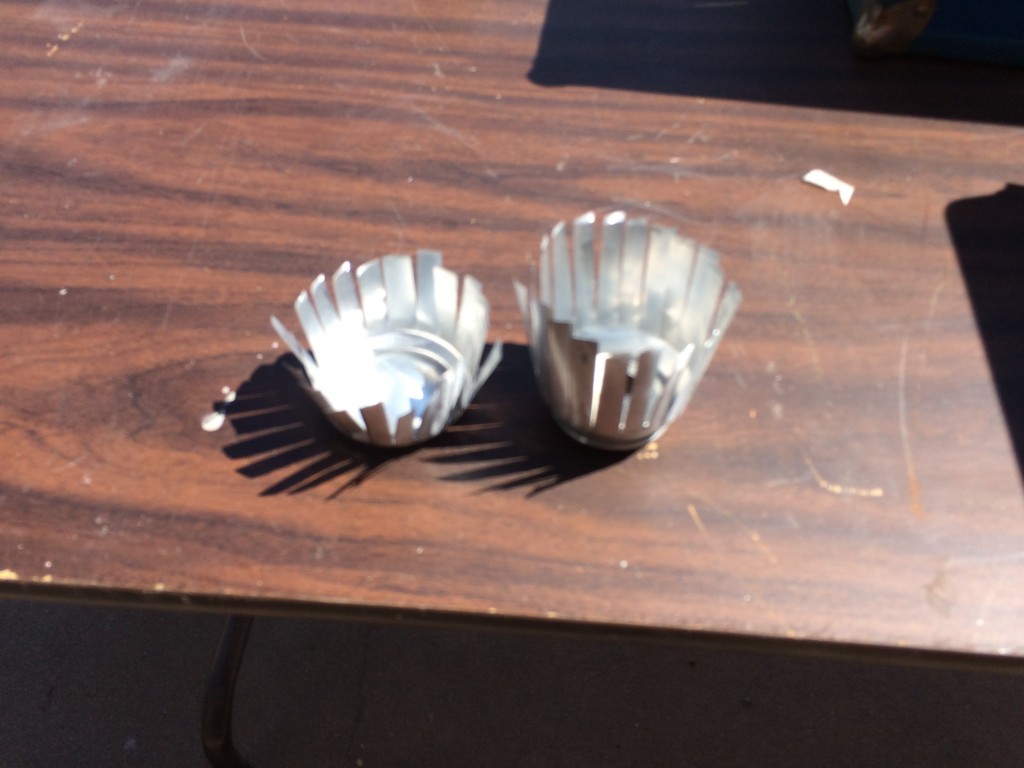
Phase 5:  For this, I just used a pair of scissors to cut along the lines to the base and the top of the beer can.
Phase 5: For this, I just used a pair of scissors to cut along the lines to the base and the top of the beer can.
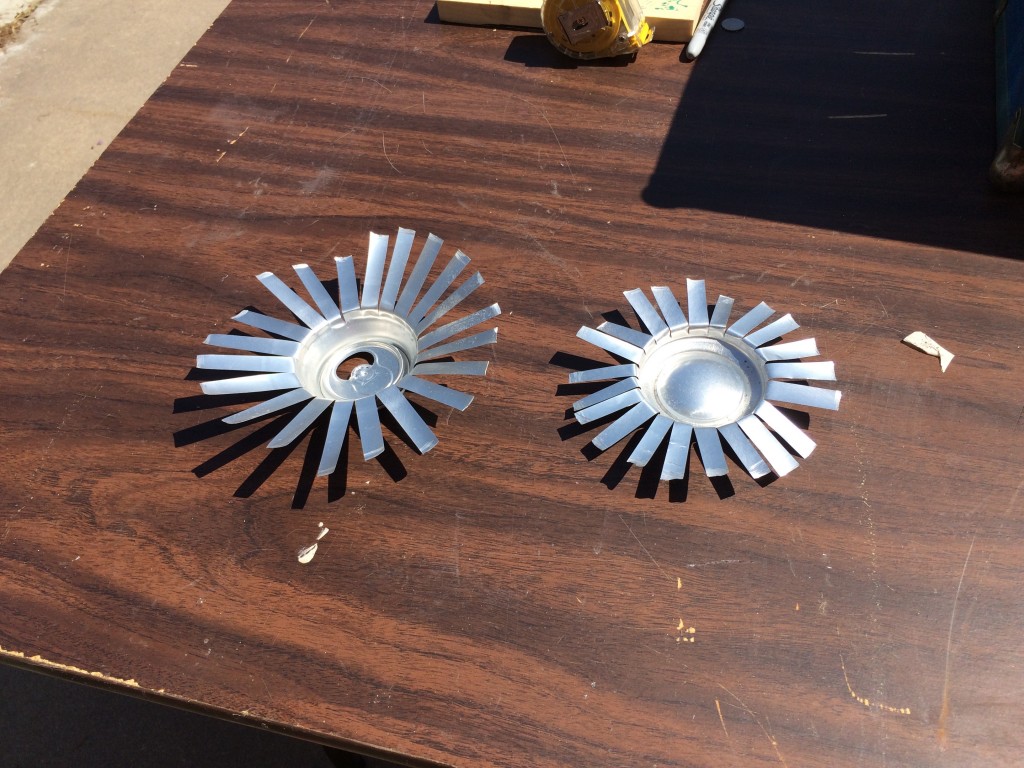
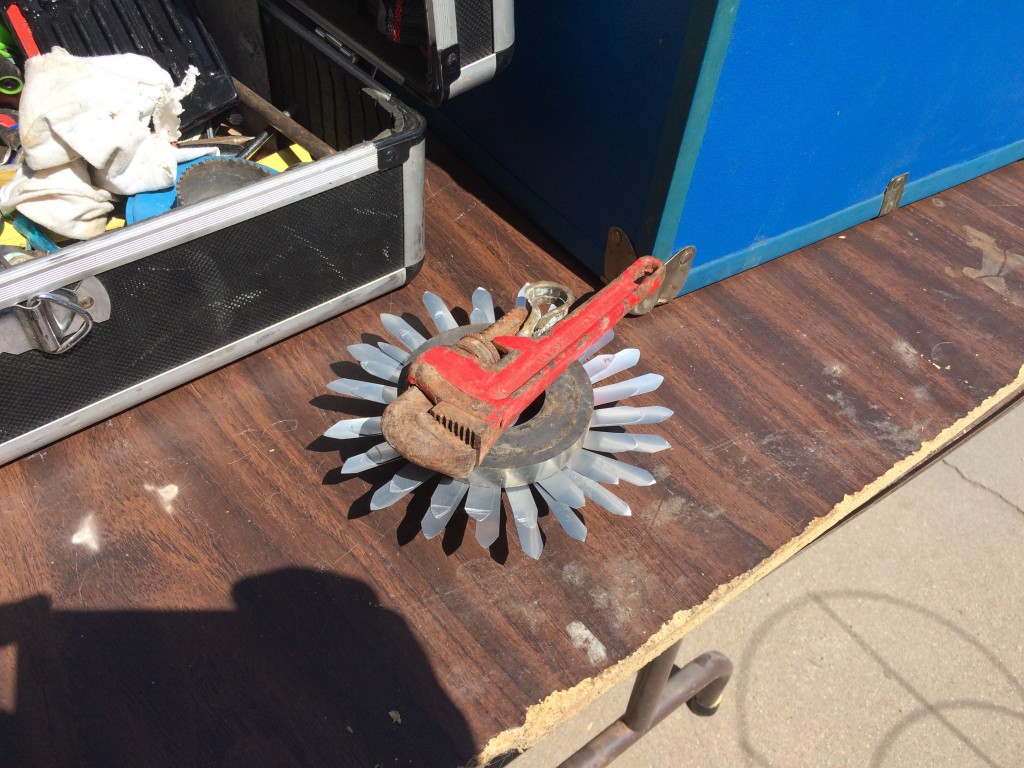
Phase 6:  Then, flatten 'em out.  Now it's at least looking somewhat flower-ish. :-)
Phase 6: Then, flatten ’em out. Now it’s at least looking somewhat flower-ish. 🙂
Phase 7 (Not Pictured):  I took the scissors, and cut a little bit of pedal shape on the end of each one.  Phase 8:  Now, put some glue on that sucker, and press the base into the top of the can (the bottom of the base goes into the inside of the top).  Hold it for a couple hours while the glue dries.  Or, just (carefully) put heavy things onto it and let gravity do the work for you.
Phase 7 (Not Pictured): I took the scissors, and cut a little bit of pedal shape on the end of each one. Phase 8: Now, put some glue on that sucker, and press the base into the top of the can (the bottom of the base goes into the inside of the top). Hold it for a couple hours while the glue dries. Or, just (carefully) put heavy things onto it and let gravity do the work for you.
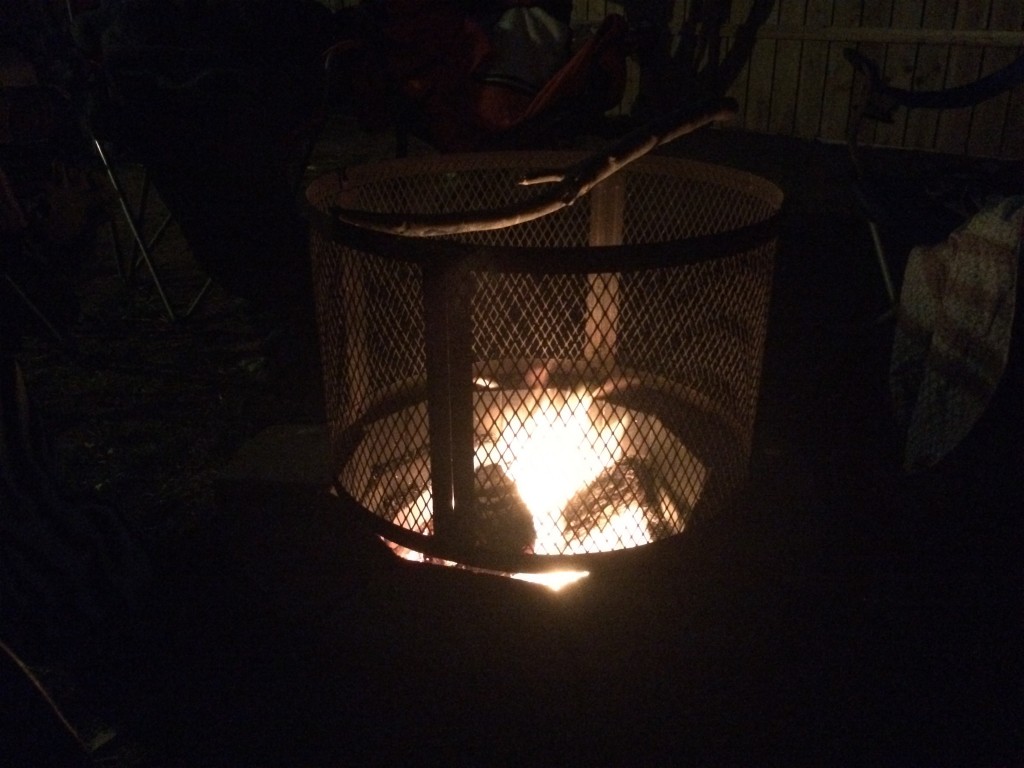
Phase 9 (Not Pictured):  Paint it however you like.  In this case, I painted is sunflower colored, because it's a beer can sunflower.  Phase 10:  Very important - have s'mores while you wait for it to dry in your car.   If you've allotted enough time, you may not have to use such a delaying tactic, but I didn't.
Phase 9 (Not Pictured): Paint it however you like. In this case, I painted is sunflower colored, because it’s a beer can sunflower. Phase 10: Very important – have s’mores while you wait for it to dry in your car. If you’ve allotted enough time, you may not have to use such a delaying tactic, but I didn’t.
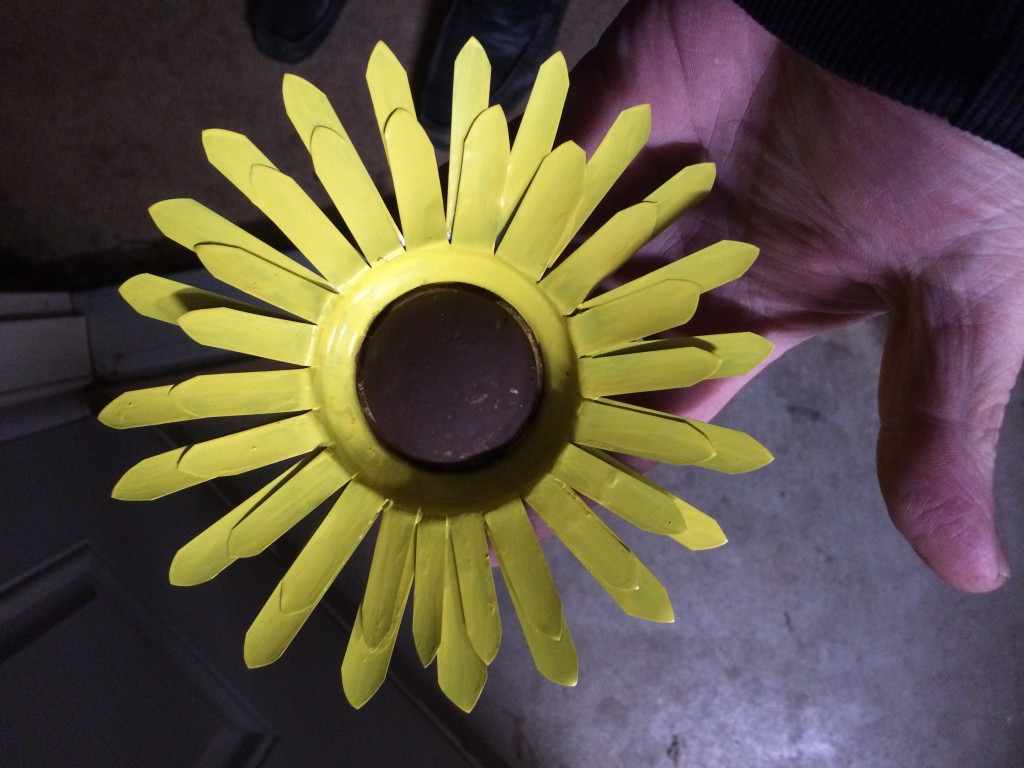
Phase 11:  Final Result, ready for gifting.
Phase 11: Final Result, ready for gifting.

When it was finished, I was mostly happy with the result. Overall appearance wise, it looks like something you’d see in a Kansas based gift shop (those exists), except the paint.  The paint isn’t even enough.  If I were going to do it again, I would probably end up spray painting it (I didn’t have spray paint, and a budget of $0, remember?  I worked with what was available at the moment.).  The paint also was a bit less glossy than I was imagining in my head when I came up with it.  But, seriously, it’s what you’d see in someone’s gift shop or bait and tackle place for tourists.  Pretty close to what I had imagined 🙂

And, the person that asked for it was pretty happy with it, so mission accomplished 🙂
Talk to me (and everyone else) by commenting!